Turn your spare PC into a capable home server lab to run Docker containers, game servers, VMs, and more!
Overview
Unraid is a server OS based on the Slackware distribution of Linux. It’s core functionality allows you to build an array of hard drives with redundancy, without having to worry about complex RAID configurations. Unraid can do much more than that though, as we will get into now.
Docker & Apps
Unraid has a fantastic app repository which include Docker containers, server tools, and game servers. Most of these applications are a one-click install and can be configured through the UI.
On my server I have set up a NextCloud (private file cloud), PiHole (ad-blocker), Home Assistant, Plex, and game servers like V Rising using the apps page.

Virtual Machines (VMs)
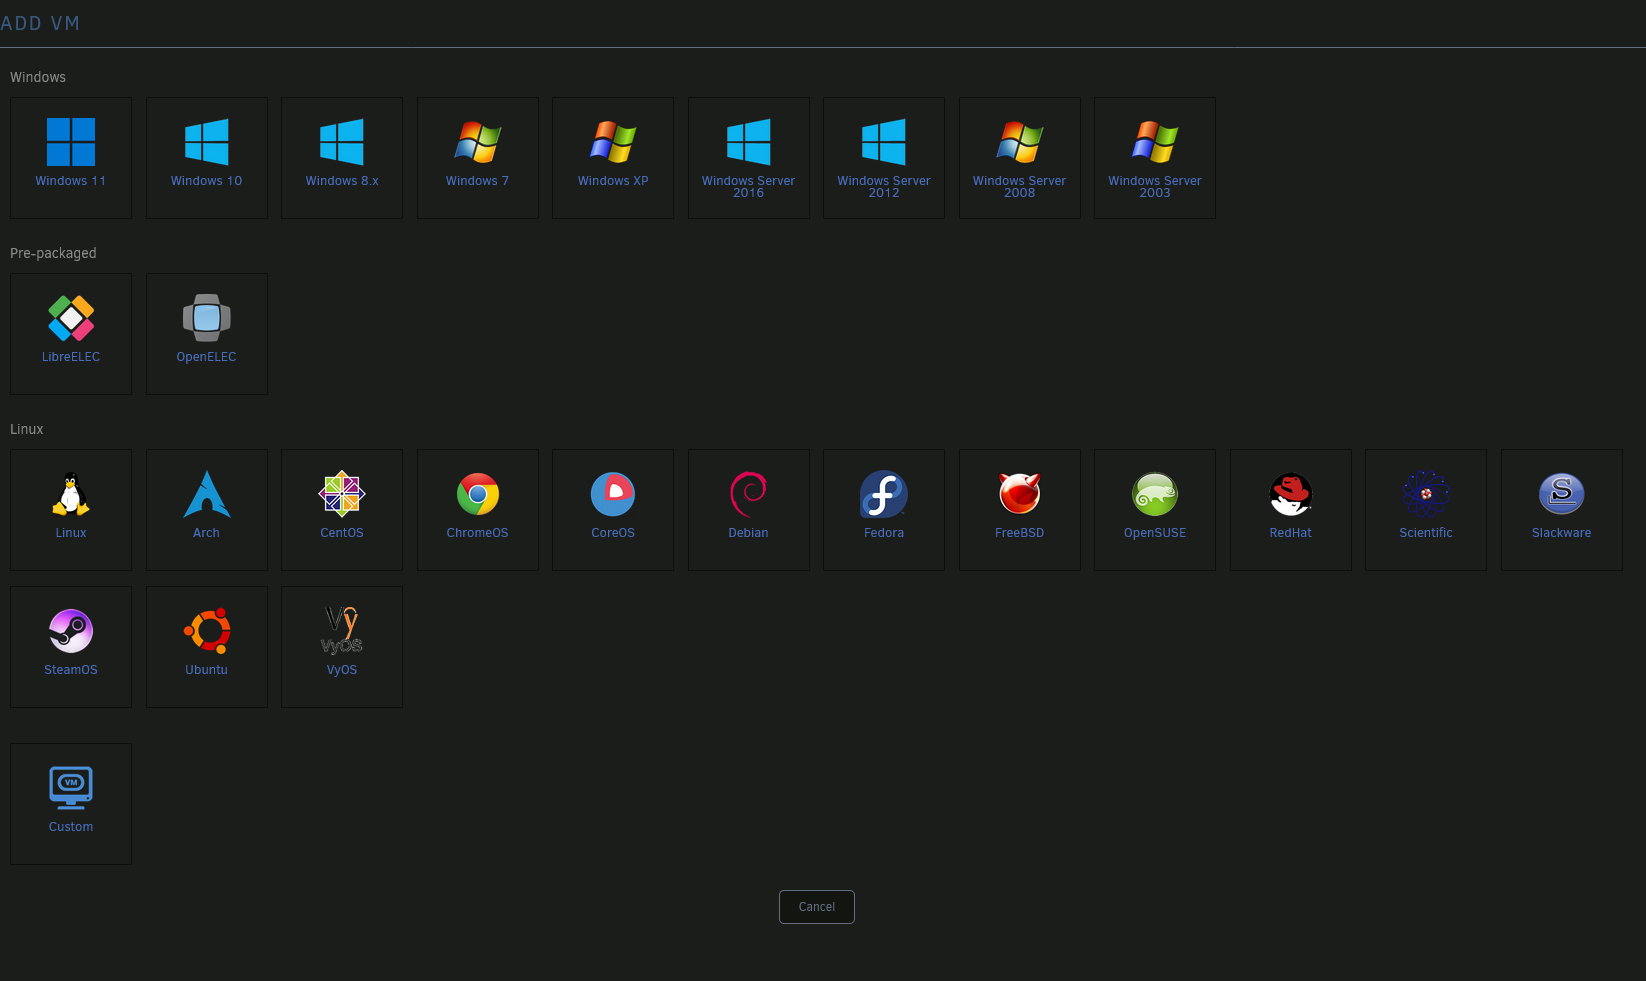
Since Unraid has full virtualization support, you can run gaming VMs, crypto miners, and multiple full workstations from a single machine. Unraid allows you to pass through GPUs and specify how many CPU cores and RAM you wish to dedicate to each VM. You may dedicate the same resources to multiple VMs as long as they aren’t running at the same time.
I have set up a Windows 11 VM, but you can also set it up with Linux, MacOS, and specialized Operating Systems like SteamOS.
Hardware
Basics
To run Unraid you can use an spare desktop as long as it’s 64-bit and is compatible with Linux hardware drivers. Most relatively modern PCs are more than capable of satisfying this. For full requirements you can visit the unraid site. To support Docker and VMs, you will want the following at a minimum:
- A 64-bit capable processor, 2.4 GHz or better with HVM support
- At least 4GB of RAM
- Linux hardware driver support for storage, Ethernet, and USB controllers
- Two hard disk drives to ensure data protection with a parity disk
- A hard-wired ethernet connection
Storage
While you can get by using a pair of hard drives, I recommend at least 3 for themost stable configuration and increased capacity. Unraid uses a parity drive fordata backup and redundancy, so you will lose some of the advertised capacity onthe drives.
At a basic level, one drive will be reserved as a parity drive and will storebits of data from all of the other drives, so that data will be preserved in thecase of any individual drive failure. Because of this, the parity drive must beyour largest capacity drive in the array.
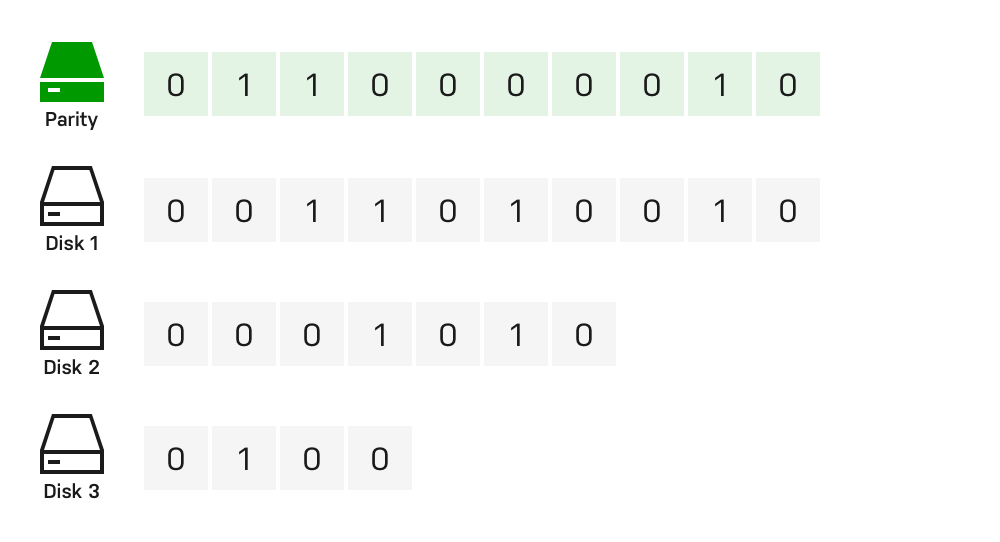
Unraid parity example (source: https://wiki.unraid.net/Manual/Overview)
Capacity
To get an idea of what the resulting total storage capacity will be, I used the Unraid capacity calculator by Robbie Ferguson and entered in the drives I had in mind. In my case, 8TB + 6TB + 4TB = 9.06TB of actual storage space. As an added bonus, it will tell you which version of Unraid you will need.
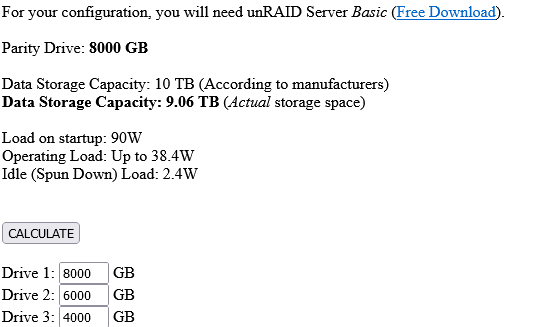
Unraid Capacity Calculator v0.5 by Robbie Ferguson
Virtualization & GPUs
To fully support GPU and PCI-E passthrough for your VMs hosted on Unraid, you will need a CPU and motherboard that supports HVM and IOMMU. This varies between Intel and AMD so I will not go in depth in this post. Check with your manufacturer for support.
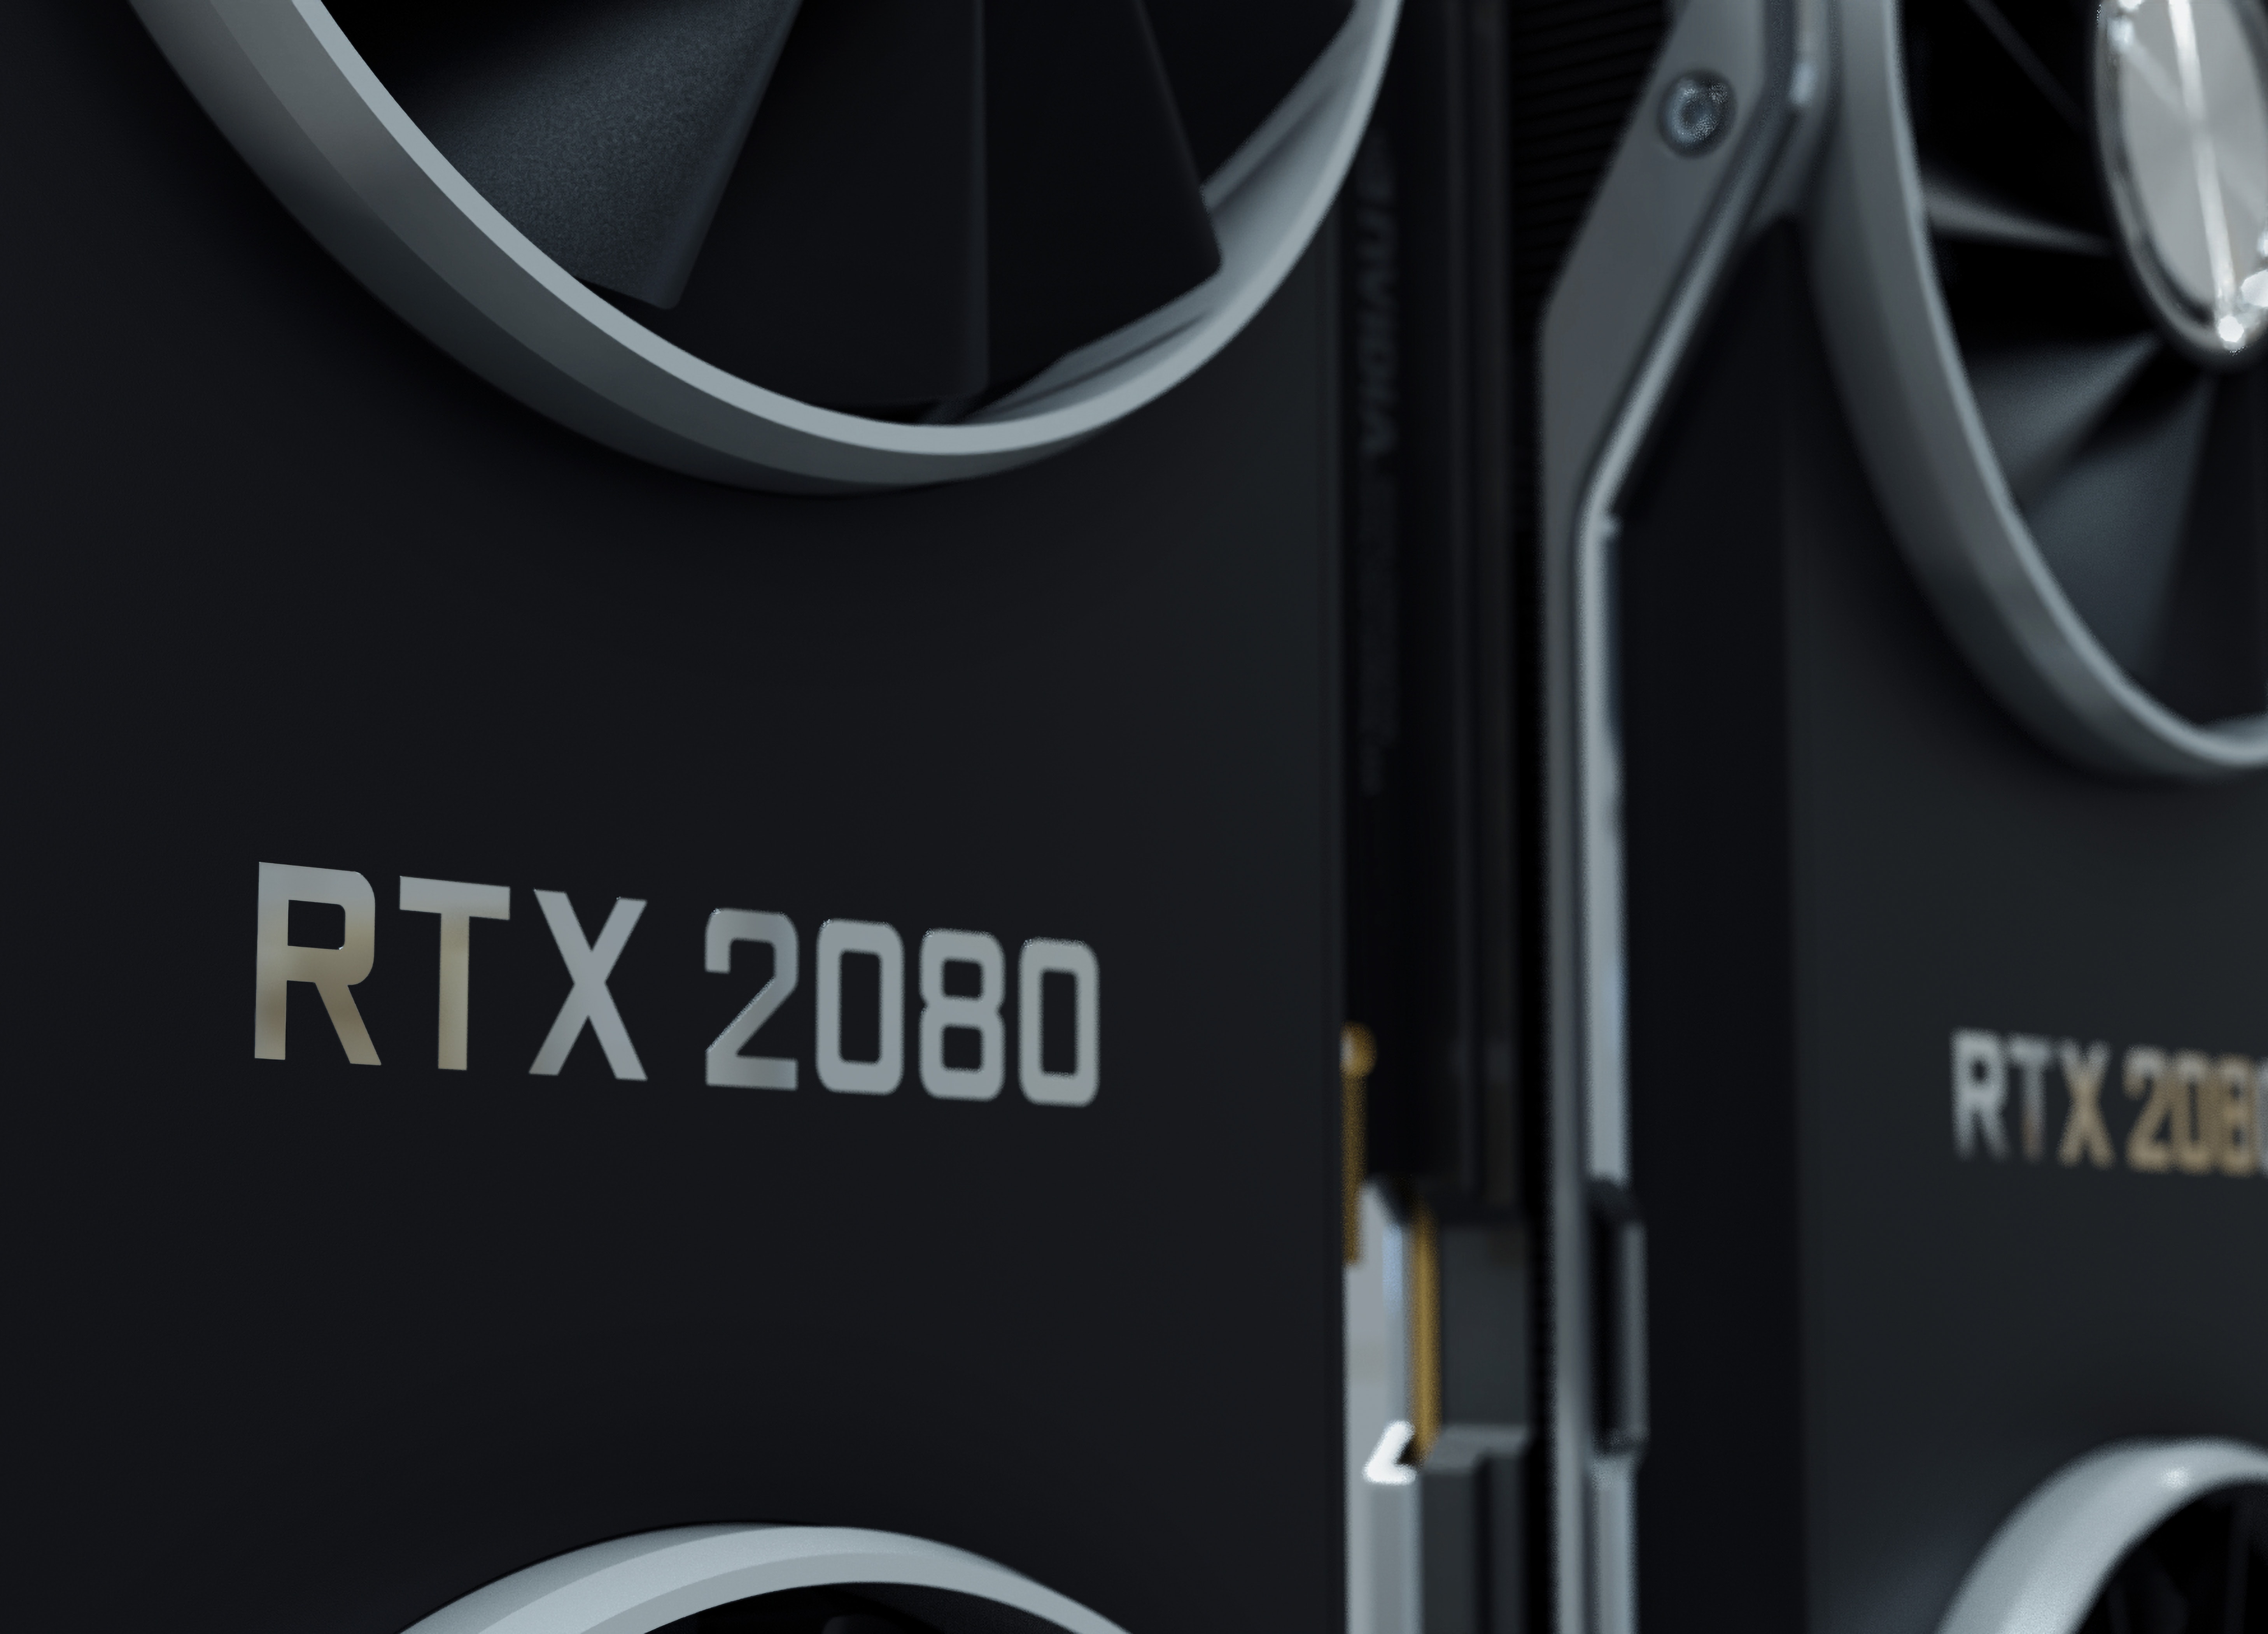
An issue I ran into was that I was able to see my Nvidia GPU in Unraid, but my motherboard disabled my integrated Intel GPU which was built into the CPU. I had to go into my BIOS to enable the iGPU alongside the external one. This allowed me to run multiple VMs simulataneously with hardware accelerated graphics. Without this you may still run with VNC, but that comes with it’s own limitations.
Setup
For detailed instructions visit the Unraid Docs
Setup involves flashing the Unraid OS to a USB drive and setting your boot priority to prefer USB. The Unraid installer will then guide you through the process and configure your drives. Unraid’s OS itself will continue to boot from the USB drive and load in to memory. The USB only need to be ~2GB and at least USB 2.0.
You will need a monitor connected for the initial setup, but you can disconnect once Unraid is installed. It is also a good idea to use a “Dummy” HDMI plug like this one if you plan on using GPU passthrough, to trick the machine into thinking a monitor is attached.

Once Unraid boots I strongly recommend that you go into your router settings and assign the machine a static IP. A static IP will let you more easily access the containers and services you set up on your Unraid machine. Without it, your server’s IP may change when the power goes out or it reboots. Most services are accessed via the IP and port (e.g. 192.168.0.xxx:1234).
You will need to know your system’s MAC address for this. Simply click the Terminal button in Unraid’s web UI (if set up with defaults, it will be at http://tower.local) and run the command ifconfig eth0. The MAC address will be in the format xx:xx:xx:xx:xx:xx. Reference your router’s manual for instructions on how to set up a static IP.
Next Steps
Now that you are set up, Unraid will take some time to set up the Parity drive. In my case for an 8TB parity drive it took 11hrs, but you are free to use the system while this happens.
I will cover more advanced topics in future blog posts such as setting up subdomains (e.g. plex.mydomain.com), setting up reverse proxies, and advanced VM configurations.
For now, explore the apps page and start setting up your VMs!